
sanded all the high points off the plastic and primed it. Added some test pot paint to the cracks to fill up some of the harder to get print lines.


After another round primer and sanding with 250-400 grit looking much better.


Once I was happy that it was super smooth I painted it matt black, this gives a good base for the boltgun metal I used.


After that I used a bit of mayonaise and a size 1 brush to brush on some streaks so they looked like scratches, normally you would use some masking fluid but applying masking fluid with out letting the previous layer of paint dry off hard (over night) usually results in peeling off the layer under with the fluid. So mayo creates an oil barrier between the paint layers and you can wipe it off with a damp cloth once the top coat is dry in my case 5 mins.

Finished article with mayo wiped off showing the chips and scratches.

Weathering I used some stone wash, sepia wash and some brown ink (watered down), I also used a brush and carfully edge highlighted some of the scratches with some crome paint to make it look like fresh knocks.

After looking at the poster I decided that it needed a bit more roughing up so I gave the torch a controlled dry brush. Only the smallest amount of paint on the width of the brush and then wipe most of it off on a cloth or the carboard you are painting on, then lightly pull the brush over the high points. This enable the paint to catch on the high points but not painting parts that would not wear out or scratch up so fast.

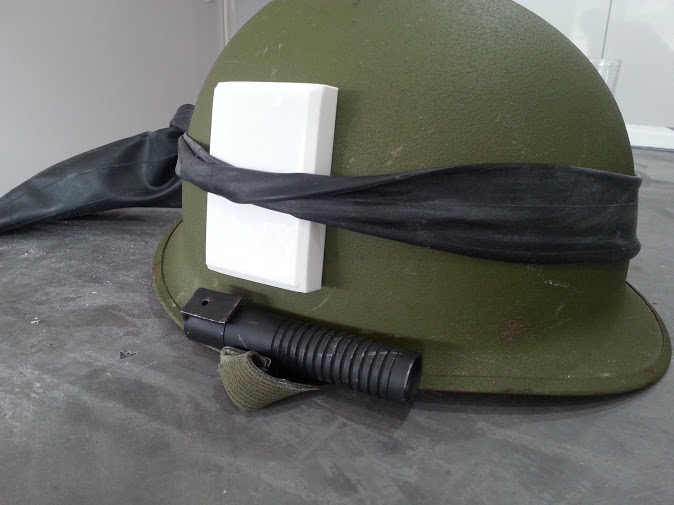
Test look beside the box thats just come off the printer and the helmet.

All product and company names are trademarks™ or registered® trademarks of their respective holders. Use of them does not imply any affiliation with or endorsement by them.
No comments:
Post a Comment